Thursday, January 27, 2011

Zingo

If your looking for a game that a wide range of ages can play- this would be it.  Even at age two Olivia is able to play the game, understand the concept AND help clean up!


ZINGO is basically BINGO with pictures.   

Tuesday, January 25, 2011

Test Kitchen part two

My header seems to be fixed?  and I have no idea why...........

so onto Test Kitchen part two:

The frosting.  Again from one of my favorite cooking sites  http://www.ourbestbites.com/.   It came out yummy, but just wasn't the exact frosting I was thinking of......  I do like the fact that I have all these ingredients in my kitchen.  That gives it definite + points.   But I found it REALLY thick and had a hard time squeezing it out of the pastry bag.  I probably need a bigger tip.  I also need to work on perfecting the blue color a bit too.  At first it came out grayish-so I added some green and ended up with more of a teal.  Olivia pointed out that it did not match the blue marker she was using as a benchmark.  Check minus for mommy.

My sister in law gave me a Fluff frosting recipe.  We will be testing that next.


I wish I could tell you that the kids did the frosting of the cupcakes.  But that was me and I stink at it!  We all had a good laugh over that.

Perfect Cupcake Frosting and Filling

3 T Flour
1/2 C milk (whole milk is best, but I used non-fat when it's all I have and it's actually fine)
1/2 C real butter
1/2 C sugar (that's granulated sugar, not powdered sugar)
1 t vanilla extract, or other flavor if you wish.

Whisk together the flour and the milk. Heat in a small sauce pan on medium heat. Whisk continuously until it starts to thicken. I think this is the critical point for any of you who have had problems with this recipe. I have a feeling people are under-cooking this part. Let it cook, while stirring, until it looks like pudding (you should be able to see the bottom of the pan when you stir it). Even though it's thick, you can still it through a mesh strainer (just whisk the mixture in the strainer to push the thick stuff through) and then let it cool completely to room temp. or chill it in the fridge. It needs to be cooled completely. If you don't let it cool completely, it will melt the butter and you'll have runny frosting.

It an electric stand mixer, beat the butter and the sugar for a minute or two until well combined and fluffy. You'll want to use the whisk attachment on a stand mixer, not the flat paddle. Then while beating, add in the thickened milk mixture and the vanilla. Beat on the highest speed you can get to without it spraying all over the place for 7 minutes. Yes, 7 whole minutes, maybe even 8 or 9. I know that seems like a long time, but that's when the magic happens!

You will be scared because it will look like a weird goopy mess at first and you'll wonder what on earth you did wrong. Keep beating and something amazing happens. It goes from that goopy mess to something thick, velvety smooth, and perfectly fluffy.  One batch makes enough to frost 12 cupcakes .

Monday, January 24, 2011

Test Kitchen

Let me just start this blog by saying- I have no idea why my header is looking so fuzzy?  Does it look fuzzy and pixelated to you?   errr, very frustrating.

So anyway- back to "Test Kitchen".  Olivia's birthday is right around the corner and this year she requested chocolate cupcakes with blue frosting.  AND I really really don't want to use a box mix.  So I discovered this recipe over at http://www.ourbestbites.com/ and they came out amazing!  I know a box mix IS easy, but honestly, I have all these items in my pantry so that is pretty easy and no trip to the store.  Even my  husband was impressed at how tasty and moist they were.  Chocolate cupcake recipe- check. 

Devil's Food Cupcakes


1 C Flour
1/4 C unsweetened cocoa powder
3/4 t baking soda
1/4 t salt
1/2 C granulated sugar
1/2 C firmly packed brown sugar
4 T unsalted butter at room temperature
1 large egg, at room temperature
1 t vanilla extract
1/2 C luke warm water
1/4 C buttermilk  (I used a splash of white vinegar with reg milk.  Whisk and let is sit a few min-great replacement for buttermilk)

Position rack in the middle of oven and preheat to 350. Like a standard 12 cup muffin tin with liners. Sift together the flour, cocoa powder, baking soda, and salt into a bowl. I know lots of people skip sifting, but in some recipes it's really important. This is one of them, so just pop it in a strainer and shake all those lumps out.  (I did this as well and wouldn't you know- she was right!)
In another bowl, with an electric mixer on medium-high speed, beat the granulated sugar, brown sugar, and butter together until light and fluffy, 2-3 minutes. Add the egg and vanilla and beat until combined.

Add the flour mixture in 3 additions, alternating with the water and buttermilk, beating on low speed until just combined. Scrape down the sides of the bowl as needed. Beat on medium high speed just until no traces of flour remain, about 30 seconds; do not over beat.

Divide the batter evenly among muffin cups- use a cookie scoop for even filling. Bake until a toothpick inserted into the center comes out clean. Anywhere from 15-20 minutes. Mine usually only take about 15- don't over bake! Let the cupcakes cool in the pan on a wire rack for 5 minutes and then remove them and let them cool.


 Next onto the perfect frosting!

Friday, January 21, 2011

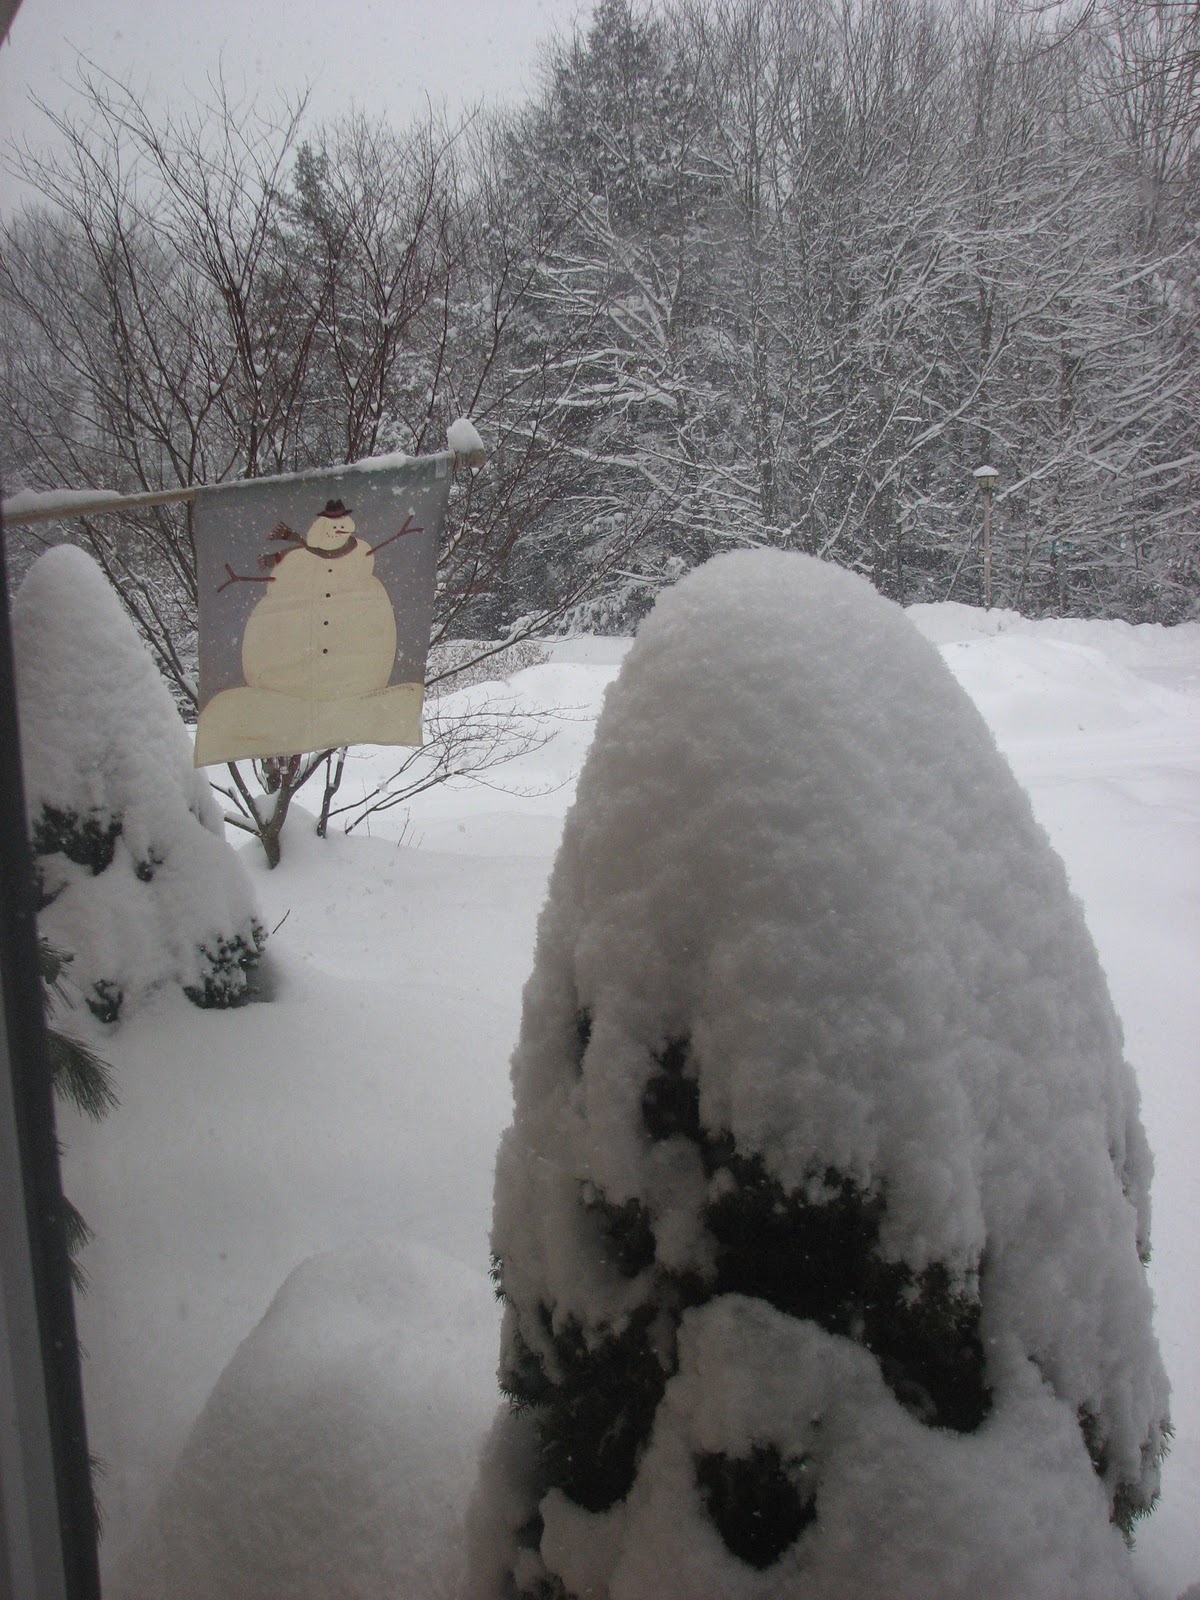
ANOTHER Snow day.....

This is what it looks like outside.  Yup another snow day.  With the holiday on Monday (read no school) and our activities canceled Tues-dance (and no school), Wed-music and today-swim (and again-no school)-I/We are most definitely going a bit stir crazy.  What's that place I am at- oh yeah.  It's called Wit's end!


Thankfully friends passed down a LARGE bag of toys from their daughter who has out grown them.  Thank goodness!  I had them hidden in the closet and today was THAT day-when they NEEDED to come out.


Tuesday, January 18, 2011

$35 on the side of the road

If you recall back in Nov I posted about a buffet I picked up on the side of the road for $35 (Isn't that how most Mainers shop?).    Well, as my gift for Christmas I requested to my husband that it be finished, by him.  He put the final coats of paint on last weekend.  Only two weeks after Christmas- not too bad.    I have to say it came out AMAZING!

Let's just remember how UGLY it was!


After shots!  I kept the three handles for the middle drawers.  New glass handles on the side drawers are from Anthropologie.
Paint is Rust-Oleum- espresso.  Purchased right from Home Depot. 


Monday, January 17, 2011

Pumpkin Donut Muffins

If you have leftover canned pumpkin like we did or even if you go out and buy it just for this - IT IS WORTH IT!    Bascially you bake the "donuts" instead of frying them.  And my kids ended up liking the donuts better without the Spiced sugar coating!

Pumpkin Donut Muffins

2 1/2 C Flour
3/4 C Brown Sugar
2 t Baking Powder
2 1/2 t Pumpkin Pie Spice
3/4 t Salt
1/2 t Baking Soda
1 1/2 C Canned Pumpkin
3 Eggs
1/2 C Butter, softened

Spiced Sugar Coating (I only made half of this sugar mixture and it was plenty!)
3/4 C Butter, melted
1 C Sugar
1 T Cinnamon
2 T Pumpkin Spice

In a medium bowl, combine the flour, brown sugar, baking powder, pumpkin spice, salt and baking soda.

In a large bowl, combine the pumpkin, eggs, and butter. Beat until smooth. Add the flour mixture, beat until well combined. Spoon the mixture into greased muffin tins close to the top. Place in a preheated 350 degree oven and bake for 20-25 minutes (15-20 minutes if using the mini tin). While baking, melt the butter and place in a bowl. In another bowl combine the sugar and spices. While the muffins are still slightly warm, dip them in the melted butter and then roll in the sugar mixture.  (I ended up using less butter and just brushed the donuts with the butter and rolled them in the sugar mixture)
This recipe makes about 18 regular muffins